
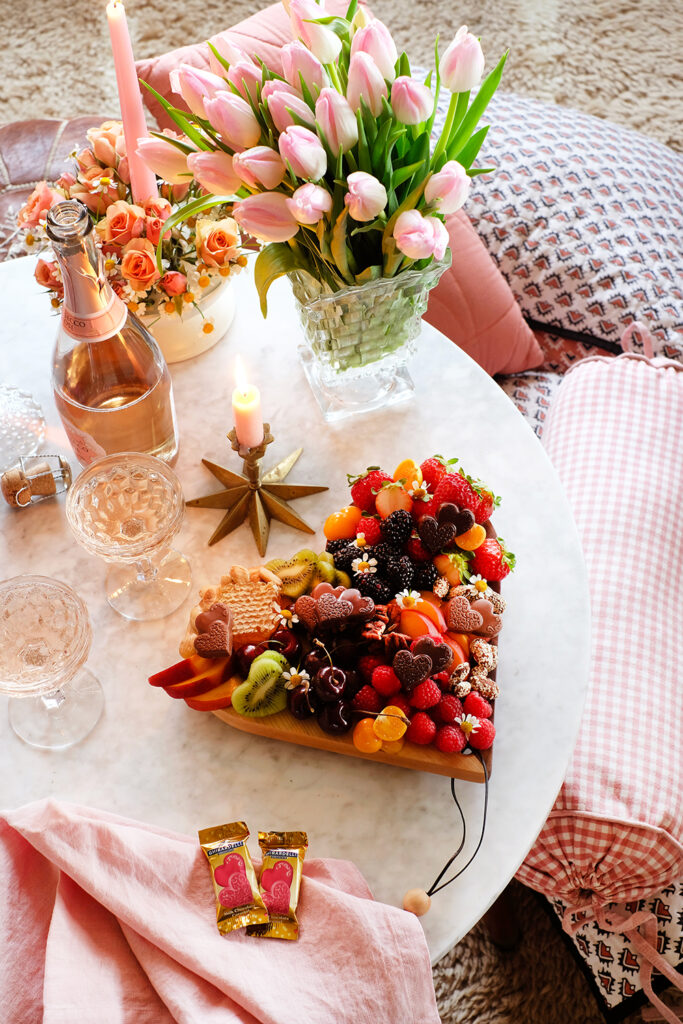
Cozy Romantic Valentine’s Day In
This post is sponsored by Ghirardelli. Thank you for supporting the brands that help make this blog possible. Life has been particularly busy lately. I’m sure opening a shop is part of that. But, Lonnie and I just want to have some chill time and home together. So, a coffee table date is exactly what we need and Ghirardelli Duet Hearts are the star of the event. Dark chocolate for Lonnie and milk chocolate for me. Even though I love to cook and bake, I need a night off and creating a pretty fruit, nut and chocolate board is a
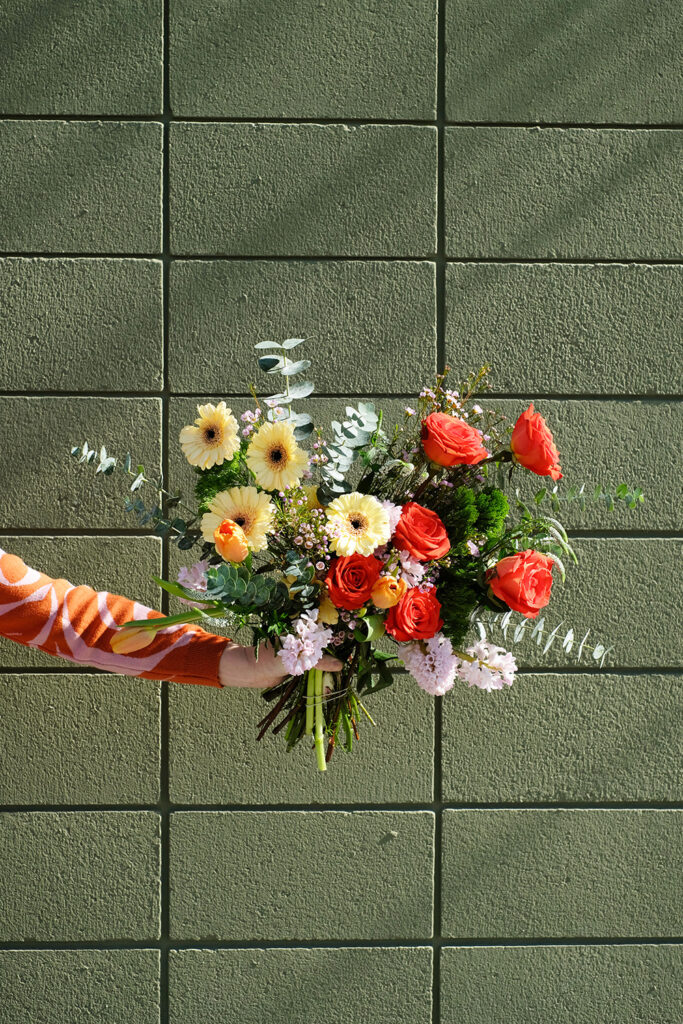
Knot and Fern Pop Up
Valentine’s Day is just around the corner and the shop is stocked with great gifts, both old and new. And I’m so excited to be hosting Brittney of Knot and Fern here at the shop on February 13th and 14th. Brittney is bringing her gorgeous custom floral bouquets here for easy Valentine’s Day pick up. Simply pre-order your bouquet before Sunday, February 12th and then you can just stop by the shop and pick up your bouquet. We are making it easy-peasy for you. You’ll have the option to add a vintage vase and we have lots of adorable cards,
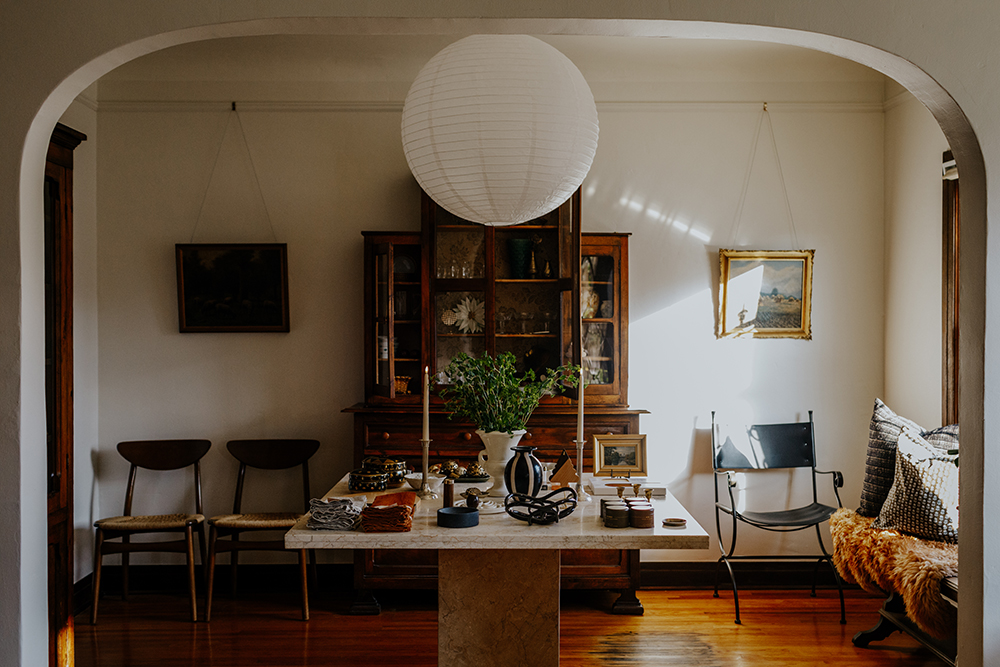
Oleander + Palm Brick and Mortar
Hi friends, you probably already know this, but I OPENED A SHOP! It’s been a long time dream and in true Jeran fashion, I decided very spontaneously to lease a building and open. I want to document more of this decision and process here on the blog. But to be completely honest, right now I don’t have the time or energy to share more then this announcement and some images my friend @allyswenphotography took for me just before I opened. I’ll be back and share more, but for now here’s where we are located and when we are open. Oleander
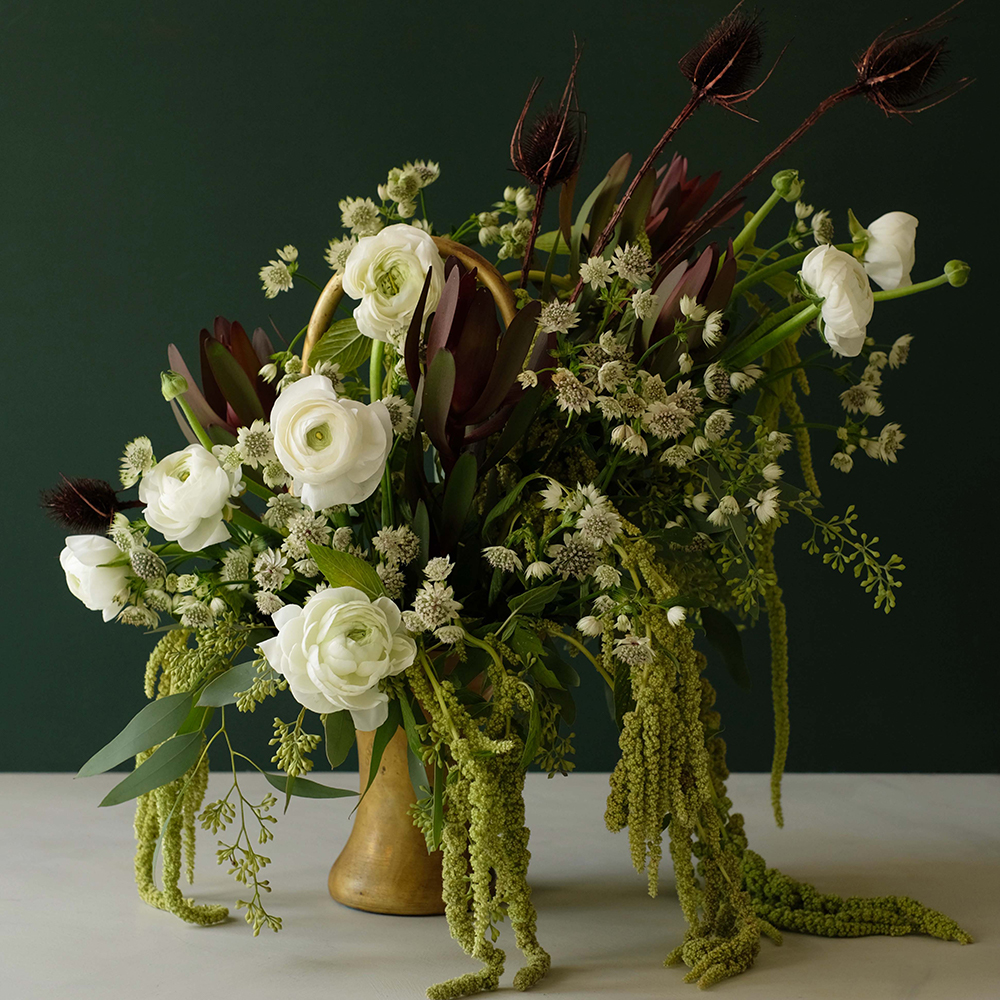
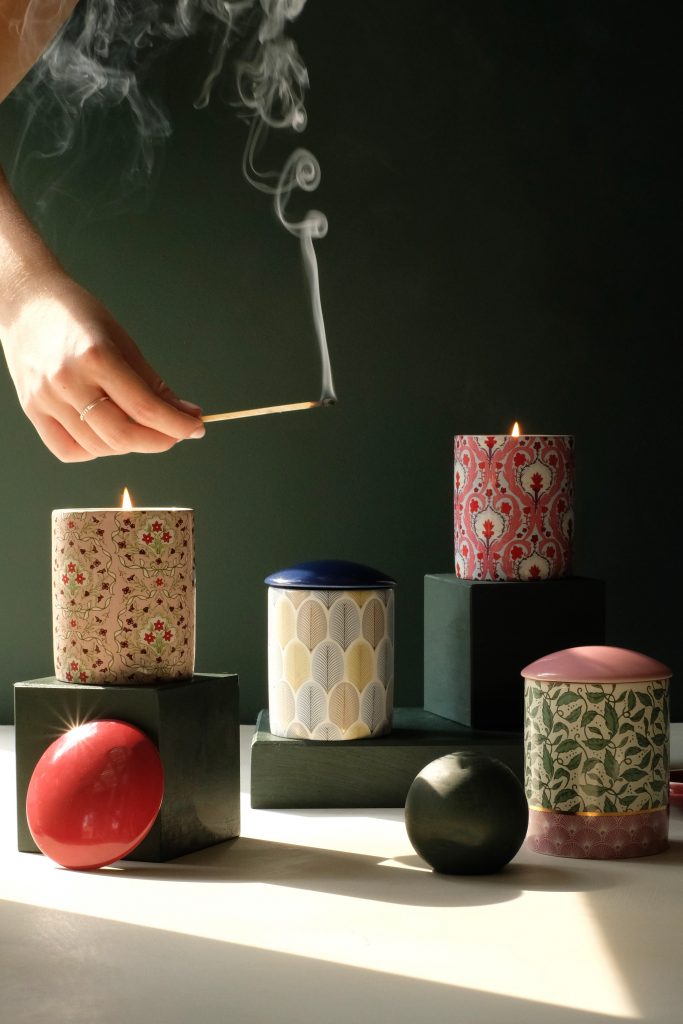
Custom Holiday Cards
This post is sponsored by Artifact Uprising. Thank you for supporting the brands that help make this blog possible. A couple weeks ago I asked you to vote on a RED or GREEN floral still life that I was going to add to my Artifact Uprising Holiday Card this year. Green won! I mean, it is my favorite color, but so many of you liked the red as well, so I printed BOTH! They came out really beautiful. Artifact Uprising‘s gorgeous mat ink and paper makes these look like mini oil paintings. As a small shop owner, I’m always looking
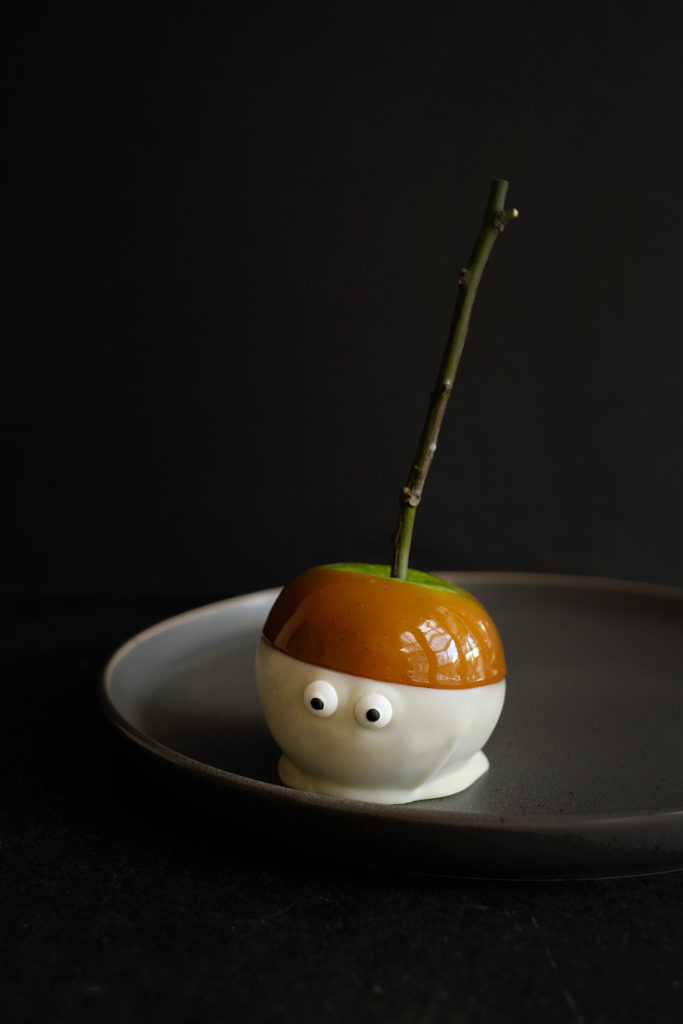
Spooky White Caramel Apples
This post is sponsored by Ghirardelli, thank you for supporting the companies that help make this blog possible. It’s here! SPOOKY SEASON. I’m sad that we won’t be hosting our annual Halloween party AGAIN, but don’t fret, there will still be treats. We might just have to deliver them to friends and neighbors instead. I don’t think there is anything more quintessentially Fall than a caramel apple. I really had so much fun creating these cute and creepy White Caramel Apples. They are just the right amount of spook, but not overly scary. You don’t have to be intimidated by
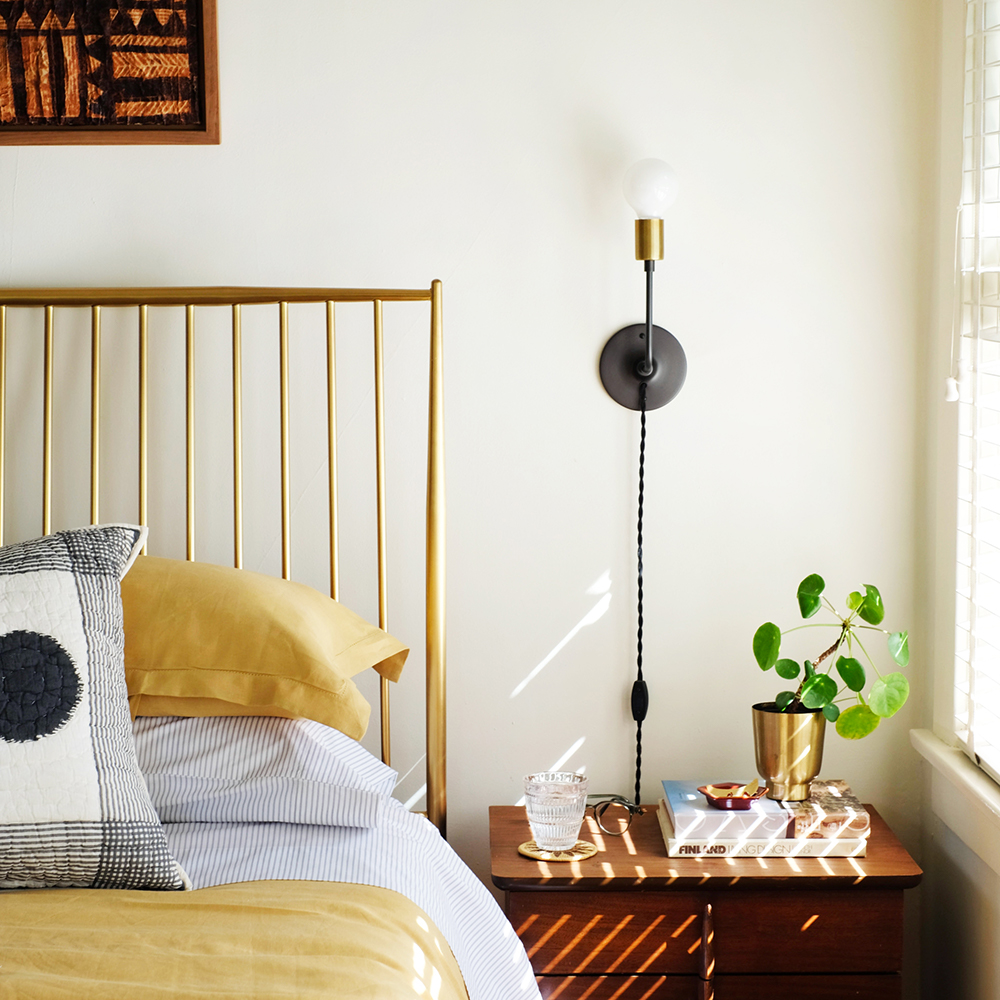
Spring Bedding Refresh
This post is sponsored by The Company Store. Thank you for supporting the brands that help make this blog possible. Happy Monday! There is no time like Spring for wanting to spruce up and give rooms a refresh. I’ve been itching to change things up a little. And while I’ve been on an “all white bedding” kick for quite a few years, I’m craving a lot more color these days. My husband, Lonnie, is always happy when a stray from neutrals and add a burst of color. Since I’m ready for the sun and warmer days, we decided to bring